Win10 PC Brick-Avoidance Techniques

It’s a sometimes scary world for Windows PC caretakers. That goes double when patching involves BIOS or firmware updates. That’s been on for a week now, following the Specter and Meltdown vulnerabilities. First reported on January 2, related firmware updates have appeared since the day after that. Last night, I updated the BIOS on my Dell Venue Pro 11 7130. I also upgraded it to Win10 Build 17074.1000. Because both actions could reportedly “brick” a (hopefully small) number of PCs, I reviewed a classic list of Win10 PC brick-avoidance techniques. I’ll recite the most useful ones here, assuming that most readers will “cross their fingers and pray for success” without any urging from me! (Here’s a vocabulary note for those unfamiliar with the term. To “brick a PC” means to turn a working piece of circuitry into an inert and useless lump with the same abilities as a veritable brick.)
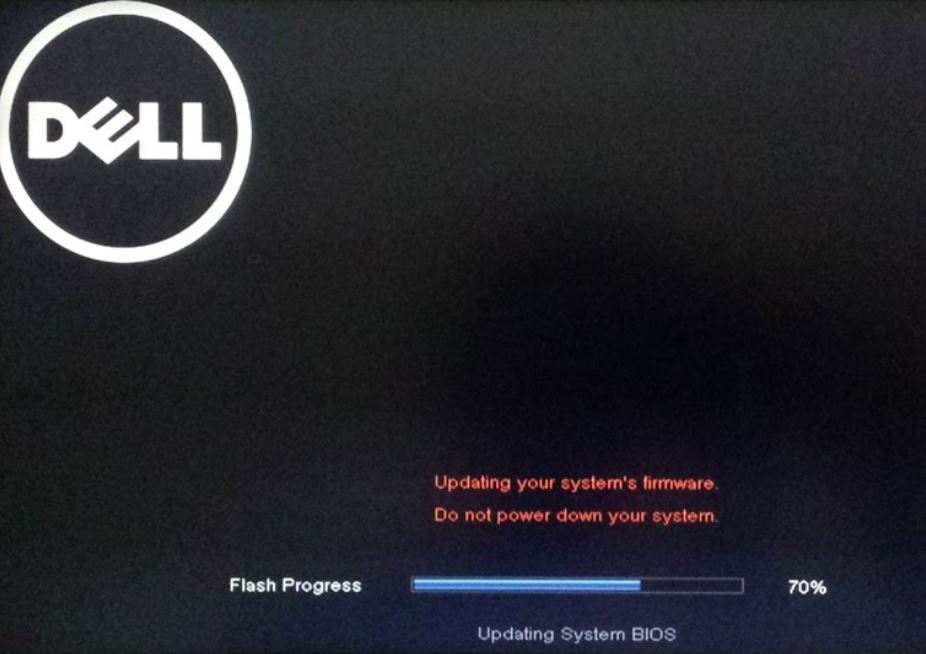
Flashing the BIOS always presents the possibility that the PC won’t boot up afterward. Taking proper precautions reduces that risk.
Listing Win10 PC Brick-Avoidance Techniques
1. Make a complete image backup/capture of your system before you start updating or upgrading anything.
Prudence dictates a good, reliable way to return whence you started whenever OS or firmware updates or upgrades are pending. A backup will not rescue you from all possible forms of harm, but it will help with many of them. Don’t start updating or upgrading without one!
2. Be sure to apply the proper update or upgrade.
Force-updating firmware or BIOS using the wrong software is the surest and fastest method to brick a PC. Make doubly-darned sure you’re attempting the update using software specifically for the OS or device involved. Version, bittedness, even human language support matters for Windows; precise rev levels for PCs, motherboards and other devices matter for hardware A LOT. The only PC I ever bricked happened misreading an ASUS mobo version label had me apply the wrong BIOS. Fortunately, that BIOS chip was socketed and replaced with a new, working one. I was lucky: few BIOS chips are socketed these days. Thus, that would involve replacing the entire motherboard nowadays (this happened in the late 1990s or early 2000s). It’s also a good idea to read about and fully understand BIOS update procedures. Some motherboards support dual-BIOSes, so if one gets corrupted or damaged, the other can take over. If such features are available on target PCs, learn how to use them!
3. Don’t be a pioneer unless you have no other choice.
By pioneer I mean somebody who goes first and blazes the trail to make the unknown at least more familiar if not well-known and -understood. That means you shouldn’t rush to apply such upgrades and updates as soon as they become available. Wait and watch what happens to other people as they attempt such things, and pay special attention to those people whose PCs are like (or preferably, the same) as yours. If they report problems, hang back until they follow up to report those problems have been solved.
4. Learn your “emergency boot-to-BIOS” sequence (if applicable).
Some mobile PCs support special button combinations, because this tip applies generally only to laptops and tablets. These forcibly boot them into BIOS, even when they won’t boot with a single power button click. Curiously, for both my Surface Pro 3 and Dell Venue Pro, that requires depressing both the UP volume button and the power button. I must hold both down until a boot logo appears. Then I let go of both buttons and it boots directly into BIOS. Other devices have different sequences to accomplish the same ends. Function keys, such as F12, are popular on many laptops. Check your user manuals (or technician’s manuals, if you can access them).
5. Work Closely with the Vendor or Manufacturer (firmware stuff)
Most BIOS and firmware updates should be obtained from the motherboard or device maker (for DIY systems) or from the system vendor (for desktops, laptops and tablets from system makers). They will have tested this stuff extensively, and won’t be inclined to release patches or updates until they know they work reasonably well. If you have any doubts, contact the maker and ask for advice and instructions. For big buyers of HP or Dell boxes (and others of that ilk), that means they won’t want to risk your ire by pushing you (and their support staff) into troubled waters.
6. Disconnect All Non-essential Devices [Added 1/13]
I’m not sure this matters for BIOS or firmware updates, but when installing or upgrading Windows it’s generally considering good practice to disconnect all peripheral and storage devices from the PC, including external USB stuff of all kinds. Some pundits even recommend disconnecting all internal storage devices, too, except for the target drive for the OS install and upgrade. Thus, for example, I can remember numerous upgrades or installs on my Surface Pro that wouldn’t complete successfully unless I removed the microSD flash card I usually keep installed to extend my storage space somewhat. There’s plenty of agreement in the Windows community that this kind of device simplification not only speed installation or upgrade, but also improves its chances of success.
Follow this list of Win10 PC brick-avoidance techniques, and you’ll avoid most of the things that brick PCs in the first place. Those with other good suggestions on this front to share, please comment. If I agree that your ideas warrant inclusion here, I’ll do just that. Thanks!