IT can set profiles for its devices running Windows 10 and enroll them in Active Directory with the Windows Autopilot tool, but Autopilot does not cover many settings.
Windows Autopilot, Microsoft's free provisioning tool for Windows devices, allows IT professionals to configure profile settings for new devices before the end user even logs on.
As an IT professional, you can ensure that each new device meets your organization's security standards and includes other important configurations by deploying a custom Autopilot profile to these devices. A Windows Autopilot deployment may be a good choice if you need to provision many Windows devices with minimal effort.
Getting started with Autopilot
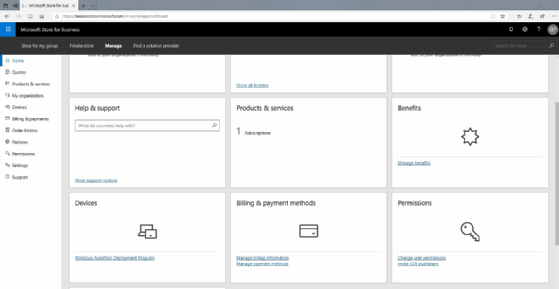
To download Windows Autopilot, log into the Windows Store for Business. From there, click the Manage link found at the top of the interface and scroll down to the Devices section. The Devices section contains a link to the Windows Autopilot Deployment Program, as shown in Figure A.
Autopilot is located in the Devices section of the Windows Store for Business.
Within the Windows Autopilot interface, the first thing you must do is add the devices that need to be provisioned. To do so, you'll need to create a CSV file that lists the devices.
The CSV file must follow a very specific format. The first column must contain the device serial number, the second column must contain the Windows product ID and the third column should store the hardware hash.
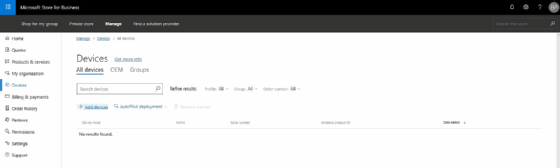
Then, click the Add device links and select the CSV file, as shown in Figure B. Once you select the CSV file, you will be prompted to enter a name to create a new Windows Autopilot deployment group.
Click Add devices and then select the CSV file.
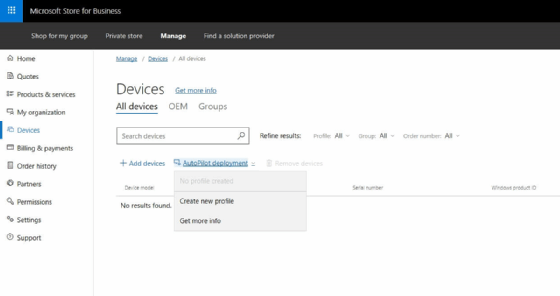
Next, create a new Autopilot deployment profile. To do so, click on the Autopilot deployment link and select the Create new profile option from the drop-down list, as shown in Figure C.
Click on the Autopilot deployment link and then choose the Create new profile option from the drop-down menu.
Customize your Autopilot profiles
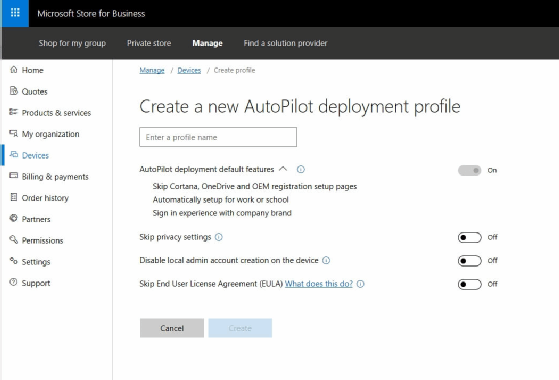
Windows Autopilot will then display the Create a new Autopilot deployment profile screen, as shown in Figure D. Enter a name for the profile you are creating.
Enter a name for the Autopilot deployment profile you are creating.
This screen contains four options that offer the opportunity to streamline the Windows deployment for the end user.
[Autopilot offers] the opportunity to streamline the Windows deployment for the end user.
The first option, Autopilot deployment default features, which automatically skips the Microsoft Cortana setup portion of Windows Setup, as well as the Microsoft OneDrive and OEM registration pages, is enabled by default. By enabling this option, you can also skip the Setup prompt asking if you are setting up Windows for work or school. This prompt also offers the opportunity to brand the sign-in experience.
The second setting, Skip privacy settings, if enabled, has Setup skip the screen that allows users to configure their own privacy settings. The third setting, Disable local admin account creation on the device, if enabled, disables the creation of a local desktop administrator account on the device. The fourth setting, Skip End User License Agreement (EULA), skips the prompt forcing the user to accept the End User License Agreement.
Once you create the Windows Autopilot deployment profile, apply the profile to a device or a device group. Simply select the device or device group and then select the profile that you want to use from the Profile drop-down list.